

How to set Koofr as a location of your Calibre library?
Today’s post is meant for all of you book lovers out there. With the help of our simple step-by-step guide, you can easily set Koofr as a location of your Calibre library. Safely and effortlessly store your favourite e-books in your Koofr account.
Calibre is a free and open-source e-book manager you can use on your computers. It is designed to be simple, allowing you to download, edit or create the metadata for an e-book (like title, author, publication date, ISBN, tags, cover and summary). It supports many different e-readers.
Calibre helps you transfer your e-books from one device to another wirelessly (or with a cable) and helps you convert your e-books into the perfect file format for your device. It has a built-in e-book viewer that can display all the major e-book formats on your screen and many other interesting features.
So, what happens when you want to save your Calibre library to your favourite cloud storage? Let's see.
How can you select Koofr as a location of your Calibre library?
Follow our step-by-step guide.
(1) Download and install Calibre on your computer.
(2) Download the Koofr desktop app.
(3) Open Calibre and go through the steps of the Welcome wizard.
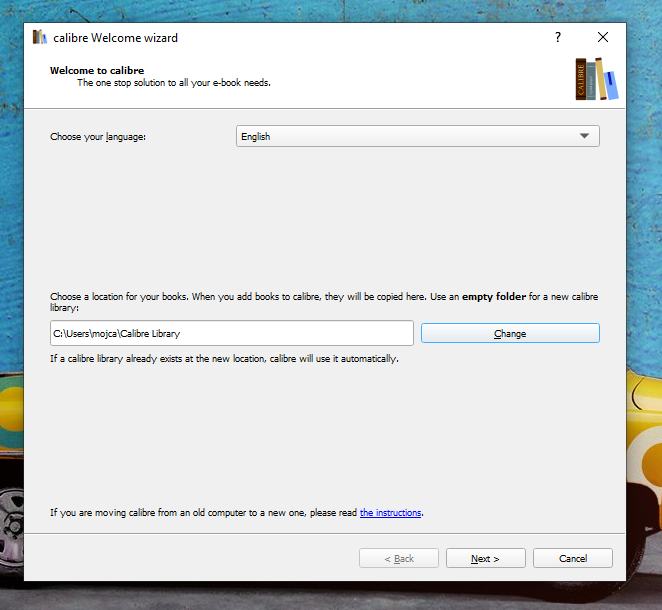
Note: If you already have the Koofr desktop client set up on your computer, you can create a new folder in the wanted location inside Koofr and change the location of your Calibre library in this step already. If this is the case, click on the Change button you can see in the picture above and select the wanted folder in Koofr as a location of your Calibre library. If not, follow the next steps in our guide.
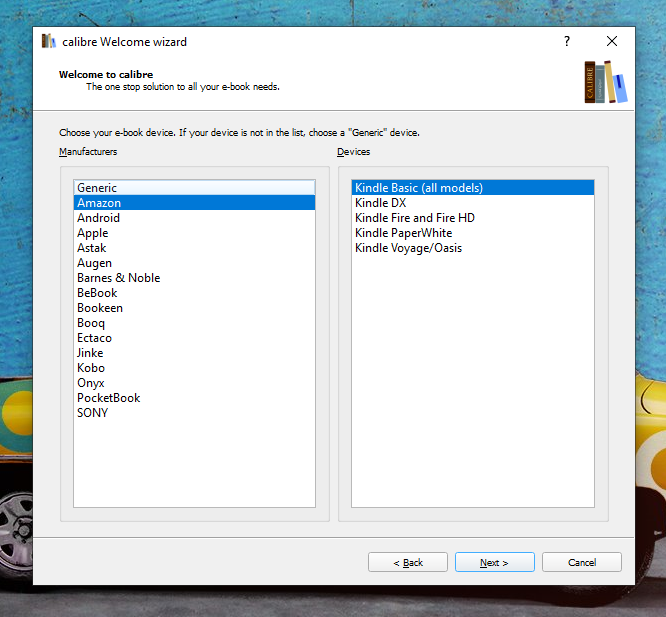
(4) Choose your e-book device. We chose Amazon's Kindle. Click Next.
(5) If you want to add your Kindle email to Calibre, open your Amazon account. Click on Account & Lists and select Your Account from the drop-down list. Select Your devices and content. Find Change your digital and device settings and click on it. Find Devices next to Manage your Content and Devices Menu and select it. Below you’ll see your Kindle Email address. Input it into Calibre when asked.
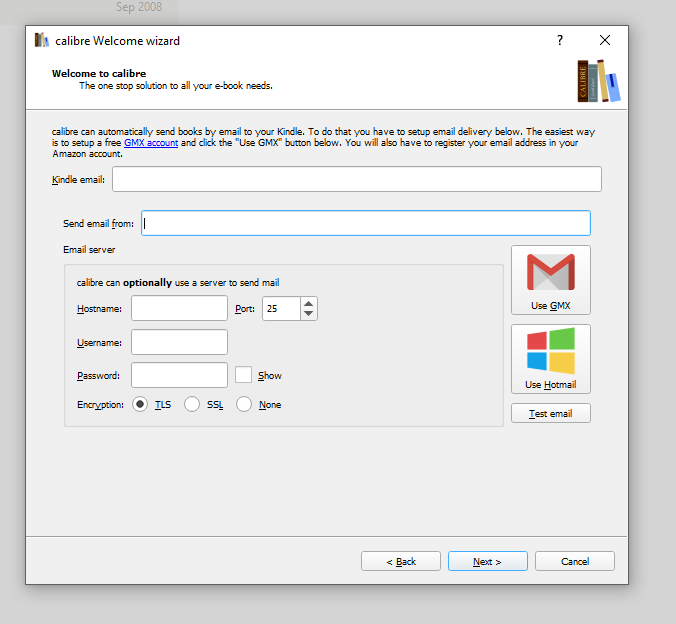
Note: You can also proceed through the welcome process without inputting anything in this step.
Click Next and Finish to skip to the end of the welcome process.
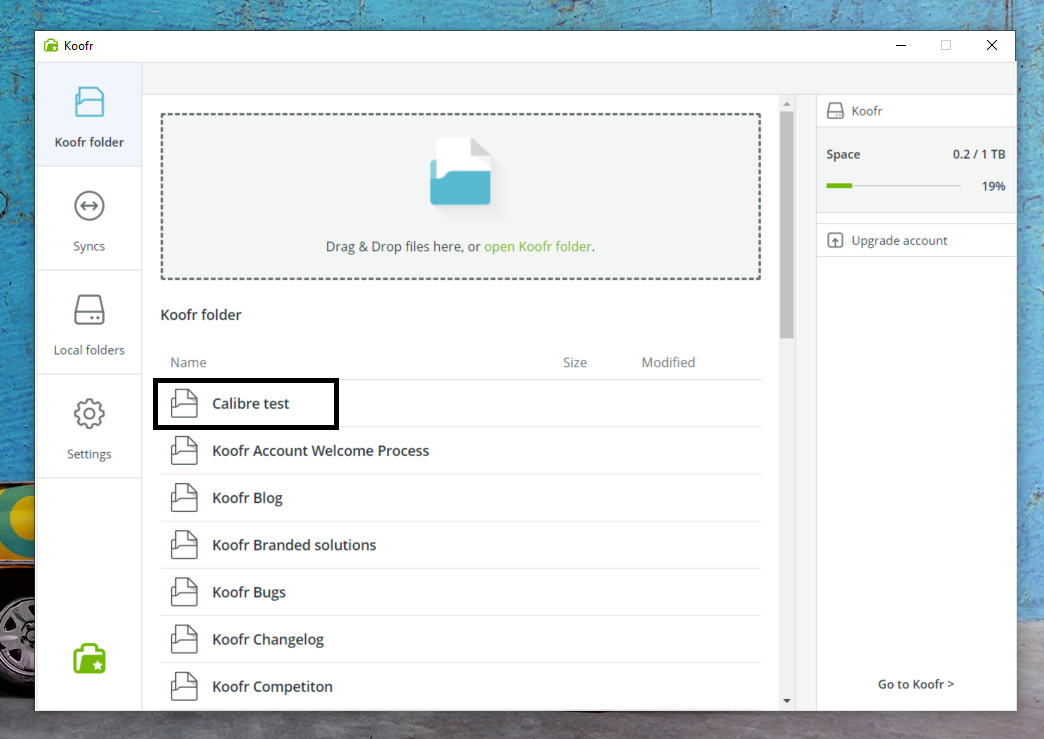
(6) Open the Koofr desktop client and create a new folder for your e-books library inside the Koofr sync folder. We created a new folder and named it Calibre test.
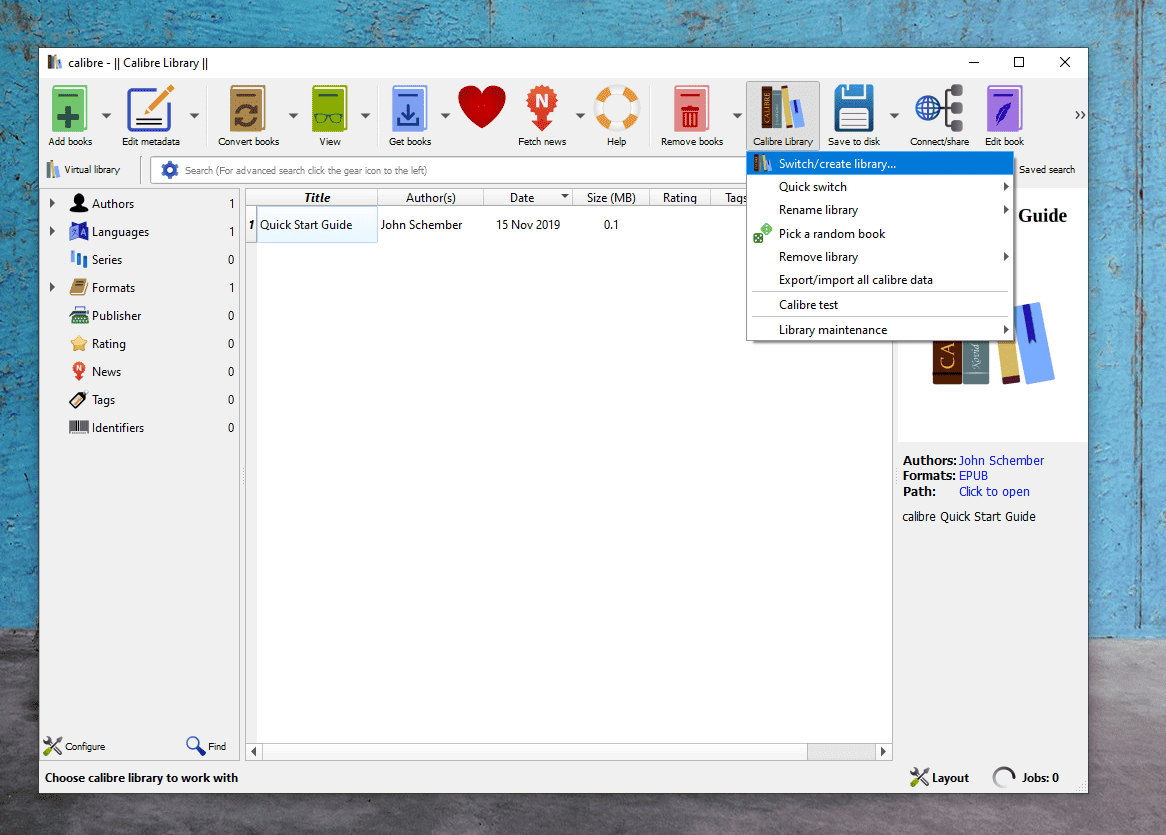
(7) Open Calibre and click on Calibre library icon in the top menu. Select Switch/create library.
(8) Click on the blue icon to browse the locations on your computer and select the folder Calibre test as a new location of your library.
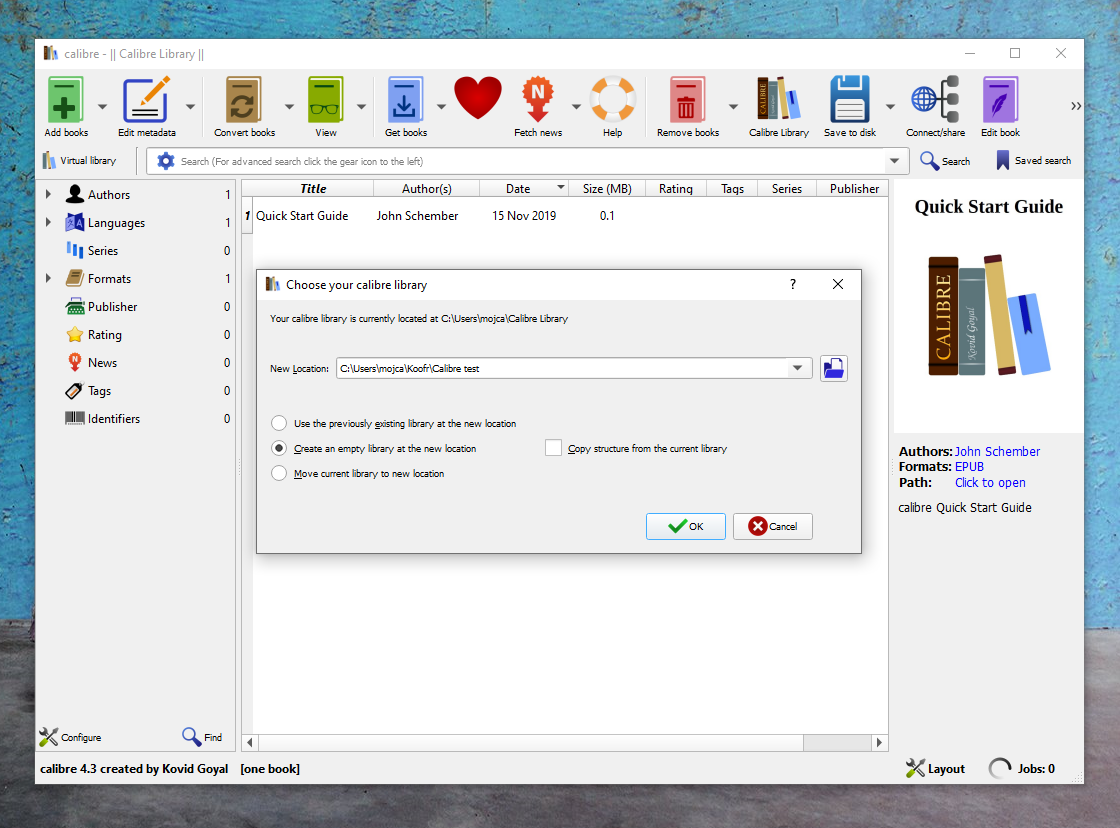
Note: If you set up Koofr as a network drive you can select whichever folder in Koofr you want for your library, by clicking on the blue Browse icon. You can read how to set up Koofr as a network drive in our help. Please note that the Koofr recommended way is to set up Koofr as a network drive through the Koofr desktop app that you downloaded in step (2).
(9) We selected Create an empty library at the new location since we didn’t have a Calibre library before. If you had one select one of the other two available options. When you are done, click OK.
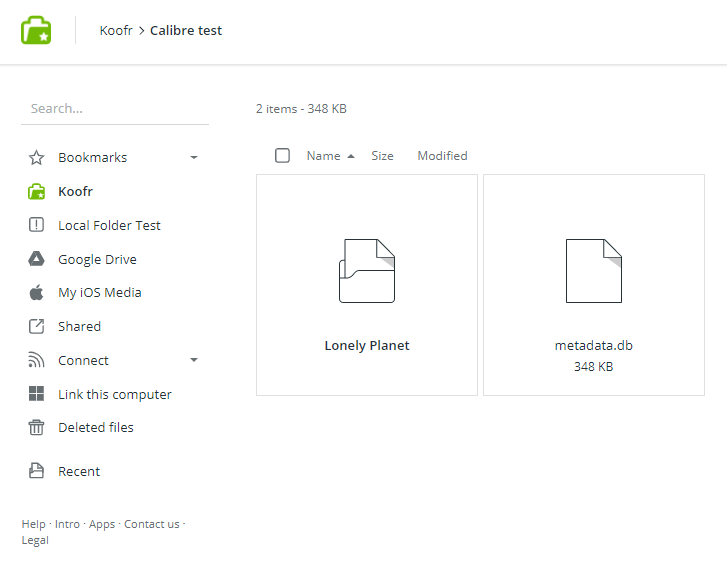
(10) Add your first e-book to Calibre and you’ll find it in your Calibre test folder inside Koofr.
Note: If you are using Koofr as a Calibre library location and you set up Koofr as a network drive on your computer, the speed of the uploads to the library will be slightly affected. You can expect the process to be slower with this option.
This post was proof-tested on Windows version of Calibre with a Kindle device, but the setup follows similar steps with other devices.
Happy reading.
Want to talk to us? Join us on the Koofr subreddit!